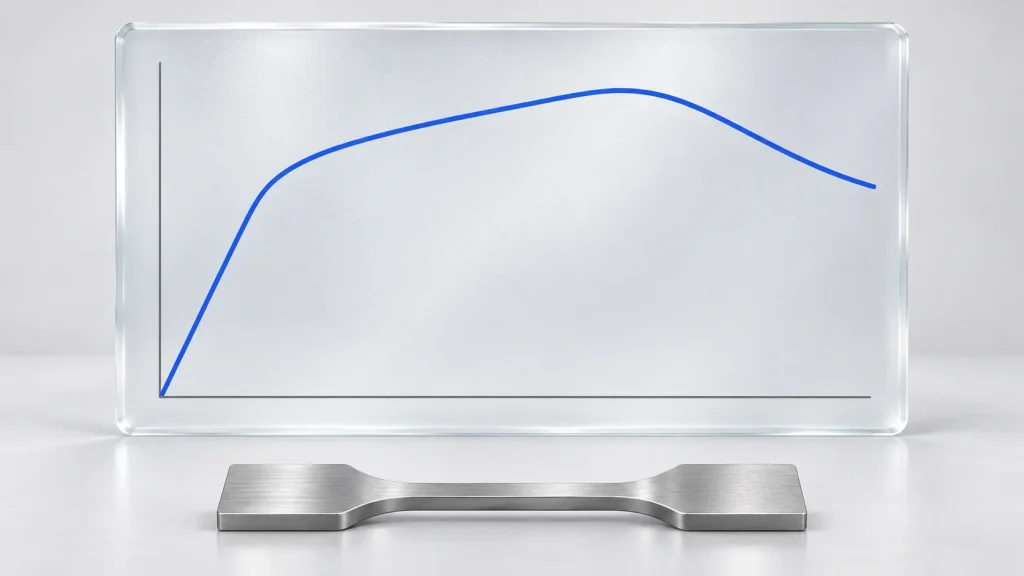
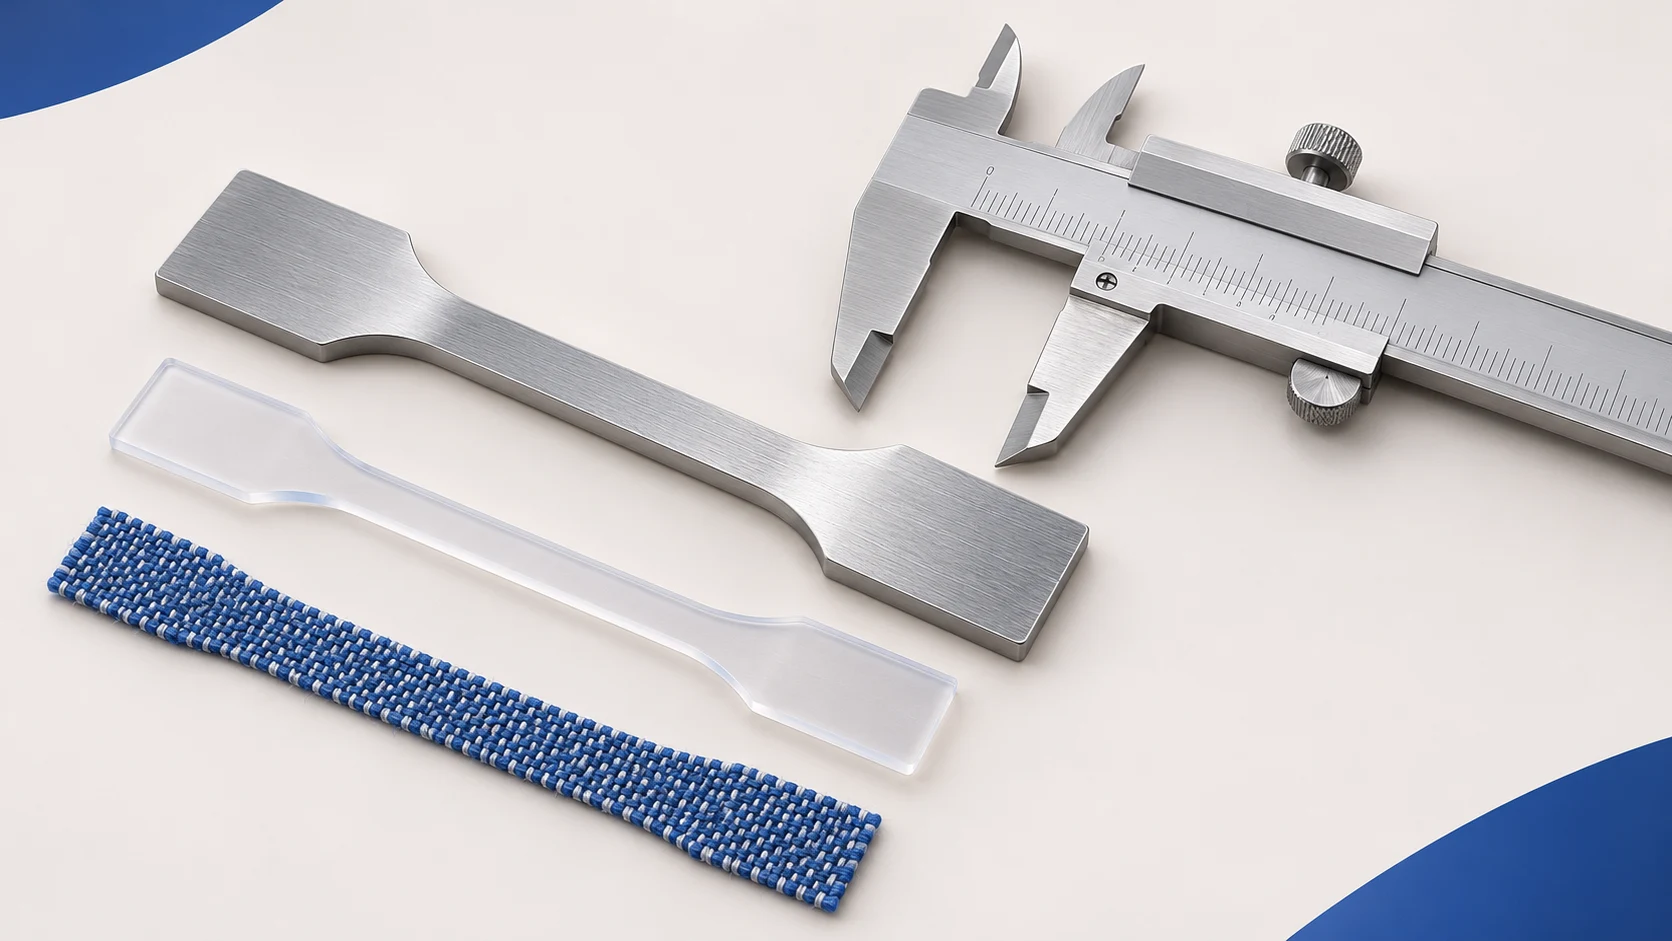
“We need a tensile tester” is a useful starting point, but it does not define a complete configuration. Metal strips, plastic specimens and woven straps can require different gripping and deformation measurement arrangements. A short application brief makes the comparison more useful.
1. Define the test and the required results
Identify the material, product form and required outputs, such as maximum force, tensile strength, modulus or elongation. Then record the applicable standard and edition. ISO 6892-1 concerns metallic materials at room temperature. ISO 527-1 sets general principles for plastics, while ISO 527-2 addresses moulding and extrusion plastics. These scopes are not interchangeable. [1] [2] [3]
Include a customer’s acceptance method or reporting template where available. Confirm the edition required by the contract and application rather than relying on a standard number alone.
2. Describe the specimen geometry
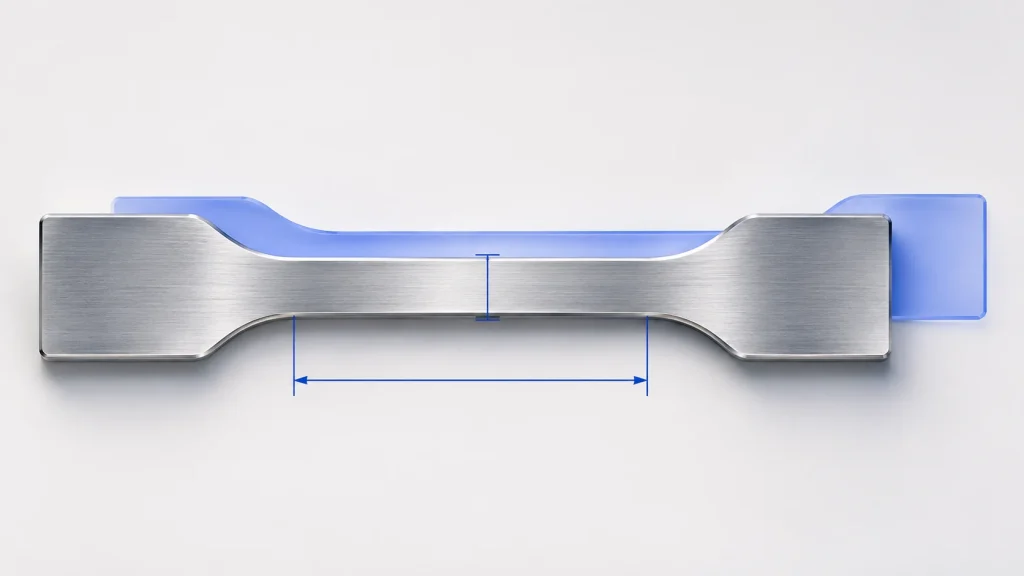
Provide a photograph or drawing showing overall length, parallel-section dimensions, thickness or diameter, and the ends available for gripping. List gauge length and expected extension separately. Grips depend on specimen shape, dimensions, material behaviour and the required force and deformation range. [6]
3. Specify both high and low loads
Approximate tensile strength multiplied by original cross-sectional area can give an initial estimate of maximum tensile force. This is a sizing input, not a complete configuration check: the frame, load cell, grips and adapters must each have suitable load ratings. [4]
Also state the smallest loads that matter in routine testing. A force-accuracy specification applies over a stated measurement range. Comparing only a percentage or a machine’s maximum capacity can overlook whether that accuracy covers your low-load measurements. [5]
4. Describe gripping and environmental conditions
Note smooth surfaces, sensitivity to gripping damage and any temperature-chamber requirements. Gripping principle, jaw faces and temperature suitability affect the choice. Ask for a specimen-based assessment rather than choosing grips from frame capacity alone. [6]
5. Define how deformation will be measured
For strain-dependent results, clarify the measurement arrangement. Extensometer selection considers gauge length, expected total extension, required accuracy and the stage at which a result is measured. Contacting and non-contacting devices suit different applications. [7] A displacement display alone does not establish that every strain measurement requirement has been met.
A practical one-page brief
- Task: material, application, target results, standard and edition.
- Specimen: photograph or drawing, cross section, gauge length and gripping ends.
- Load and extension: expected maximum force, routine low loads and extension; identify unknowns.
- Accessories and environment: grips, extensometer and temperature requirements.
- Daily use: specimens per day, report language, data export and training needs.
Use this checklist to prepare a selection discussion. Confirm the final configuration against actual specimens, the applicable test method and equipment documentation.
Sources
- [1] ISO 6892-1:2019 — Metallic materials, tensile testing at room temperature
- [2] ISO 527-1:2019 — Plastics, general principles
- [3] ISO 527-2:2025 — Test conditions for moulding and extrusion plastics
- [4] Instron — 5960 Series Operator’s Guide, selecting a load cell and load string
- [5] Instron — Load measurement accuracy and its specified range
- [6] ZwickRoell — Specimen grips and selection criteria
- [7] Instron — How to Pick the Right Extensometer